Invite your team
By the end of this tutorial your colleagues will have an email with a link they can click to join your workspace. They’ll show up as members in the same workspace, see the same agents, and share the same conversations history (if you allow it).
This is tutorial 3 of 4 in the Getting started series. It takes about 5 minutes.
Before you start
- You’ve completed Tutorial 1 — Create your account & workspace.
- You have the work email addresses of the people you want to invite.
- You’re a workspace owner or admin (you are, if you signed up — you created the workspace).
You don’t need to install anything for your colleagues. They sign in through the same website you do.
Step 1 — Open Settings
-
Look at the bottom of the left sidebar. You should see your name and a Settings button.
-
Click Settings.
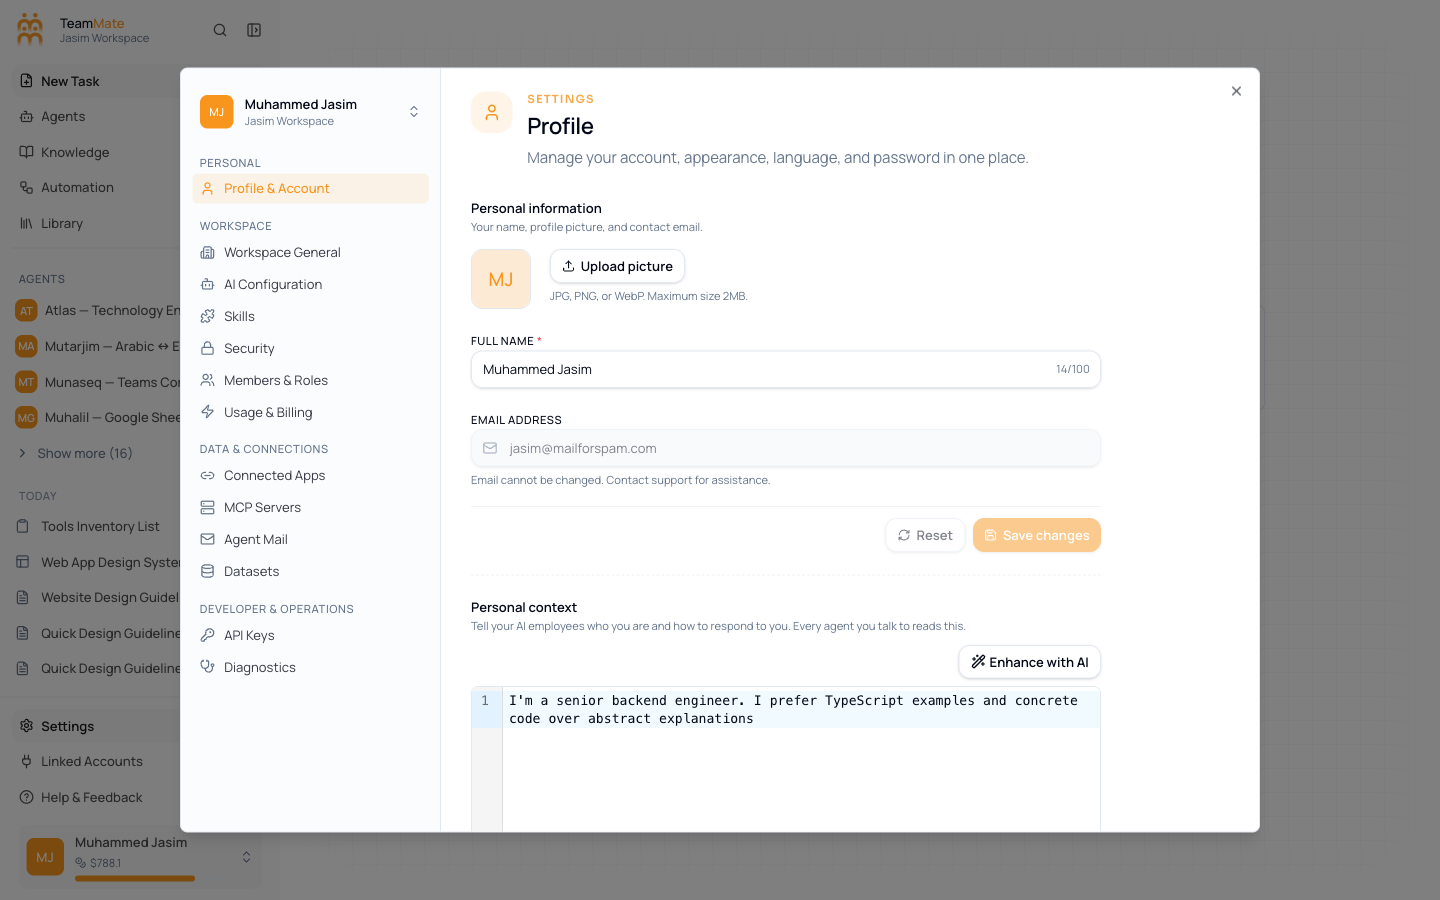
The Settings dialog opens in the middle of the screen, with a list of categories down the left side.
Step 2 — Go to Members & Roles
- In the Settings side nav, find the Workspace group.
- Click Members & Roles.
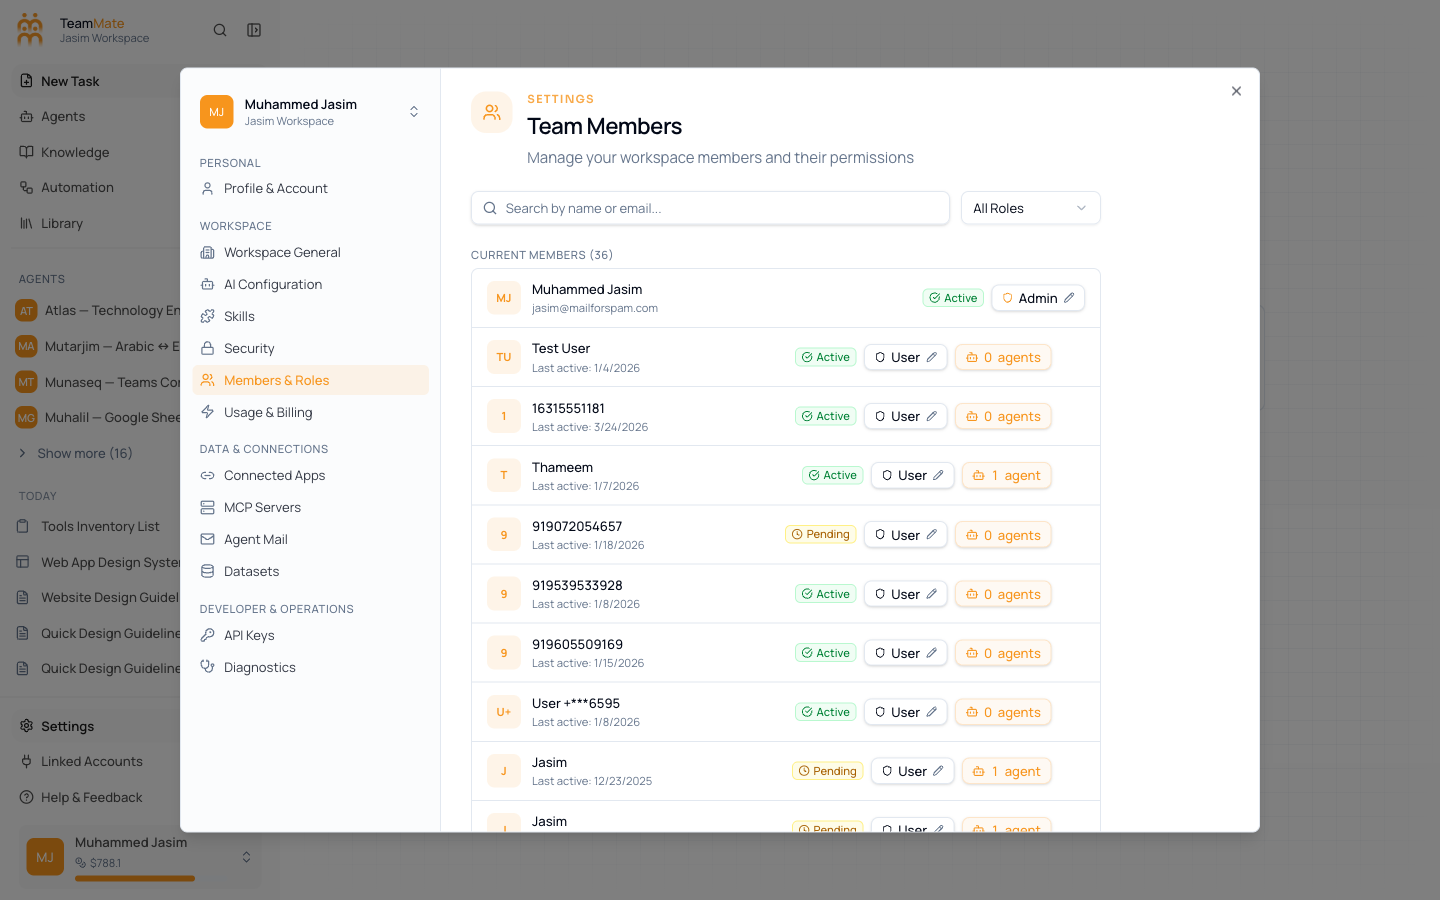
The right side of the dialog now shows the people currently in your workspace (just you, for now) and a button to invite more.
Step 3 — Send invitations
-
Click the Invite button (top-right of the Members panel — the exact label may say “Invite member” or “Invite people”).
-
A small dialog opens with three fields:
- Email — type the colleague’s work email address. You can paste multiple addresses separated by commas if you want to invite several people at once.
- Role — pick from the dropdown. Most teammates should be User. See Step 4 below for how to choose.
- Optional message — a short note (one or two sentences) that goes into the invite email. Useful when colleagues don’t recognise the sender.
-
Click Send Invitation.
TeamMate sends each person an email with a button to accept and join. The dialog closes, and the new entries appear in your member list with the status Invited (not yet joined).
Step 4 — Pick the right role
There are three roles. Pick the smallest one that lets the person do their job.
| Role | What they can do | When to use |
|---|---|---|
| Owner | Everything an admin can do, plus delete the workspace and transfer ownership. There can be more than one owner. | Co-founders, your IT manager, anyone who must be able to take over if you’re unavailable. |
| Admin | Manage members, manage agents, and change workspace settings. Cannot delete the workspace. | Team leads, people managing the AI rollout day-to-day. |
| User | Use chat, use agents, create knowledge bases, run tasks. Cannot change workspace settings or invite others. | The default for everyone else on your team. |
You can change a person’s role at any time after they join — click the role dropdown next to their name in the same Members list.
Step 5 — Tell them what to expect
Send your colleagues a heads-up (Slack, Teams, or email) so the TeamMate invitation doesn’t look like spam. A short message that works:
Hi — I’m setting up our team’s AI workspace in TeamMate. You’ll get an email from TeamMate in the next minute. Click Accept invitation, sign up with this email address, and you’ll land in the same workspace as me.
Step 6 — Watch them join
When someone clicks Accept invitation in their email:
- They land on TeamMate’s sign-up page with their email pre-filled.
- They set a name and password (same as you did in Tutorial 1).
- They’re dropped straight into your workspace.
Back in your Members & Roles tab, their row changes from Invited to Active (you may need to refresh — close and reopen Settings if you don’t see the change).
What you built
- A workspace with more than one person in it.
- A record of who’s invited, who’s joined, and what each person’s role is.
Removing or downgrading a member
You’ll need this sooner or later.
- Open Settings → Members & Roles.
- Find the person’s row.
- Click the role dropdown to change their level, or click the Remove button on the right of the row.
Removed members lose access immediately. Their conversations stay in the workspace under their name (so audit trails don’t break), but they can’t sign back in unless you re-invite them.
What if my colleague never gets the email?
- Spam folder. Most enterprise mail filters quarantine first-time senders. Have them check Junk / Spam.
- Wrong email. Open Members & Roles, find their row in the Invited list, and double-check the address. If it’s wrong, click Remove on that row and re-invite to the correct address.
- Domain block. If your company strictly filters incoming email, ask IT to allow
noreply@taqatbot.com. - Re-send. Click Resend invitation on the invited row to push a fresh email.
Next
You’re set up, your team’s in. Time to put a recurring job on autopilot.