Visual builder basics
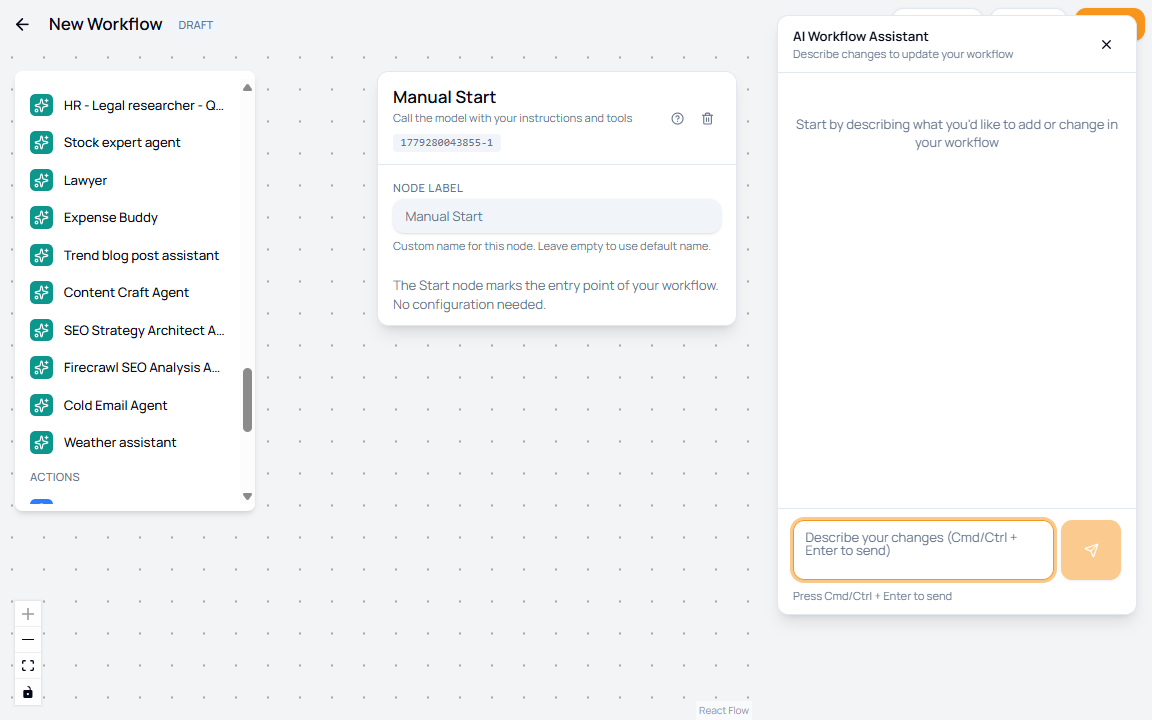
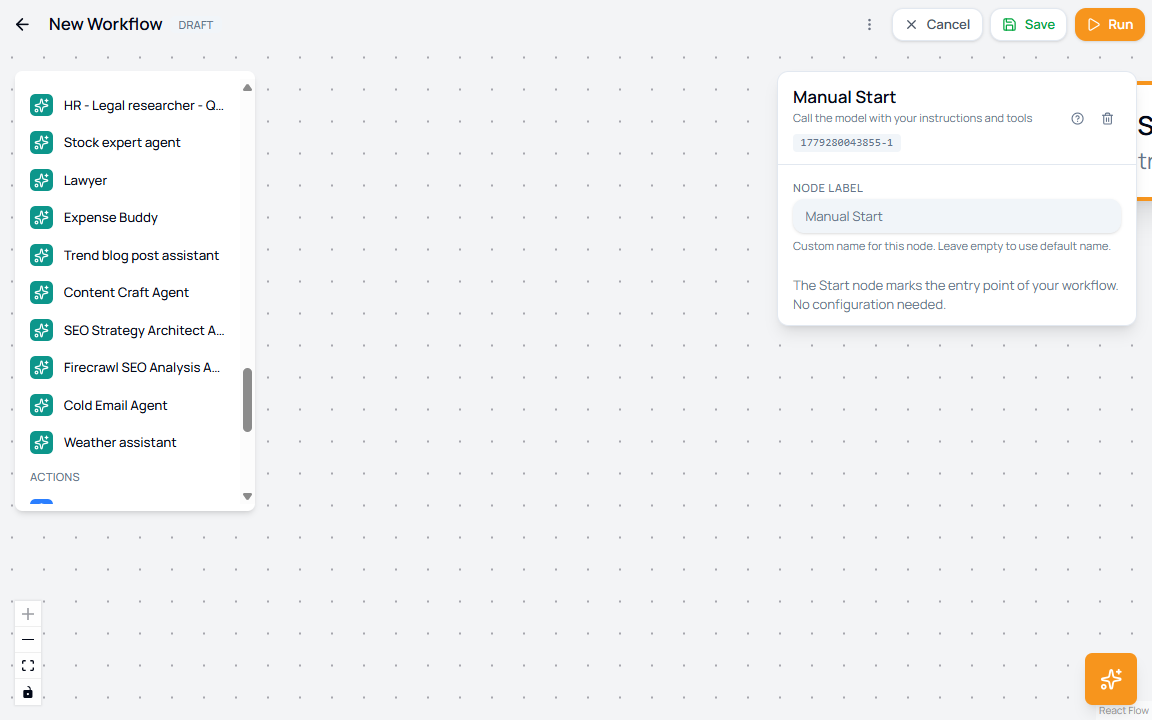
The visual builder is the screen opened by New Flow or a flow’s View details action. Use it to drag nodes onto a canvas, connect them into a workflow, configure each node, validate the flow, save it, and run tests.
What you can do here
- Return to the Flows list with the back button.
- Build on the React Flow canvas with zoom, pan, fit view, and interactivity controls.
- Drag nodes from the left palette onto the canvas.
- Select a node and configure it in the right panel.
- Open the AI workflow assistant.
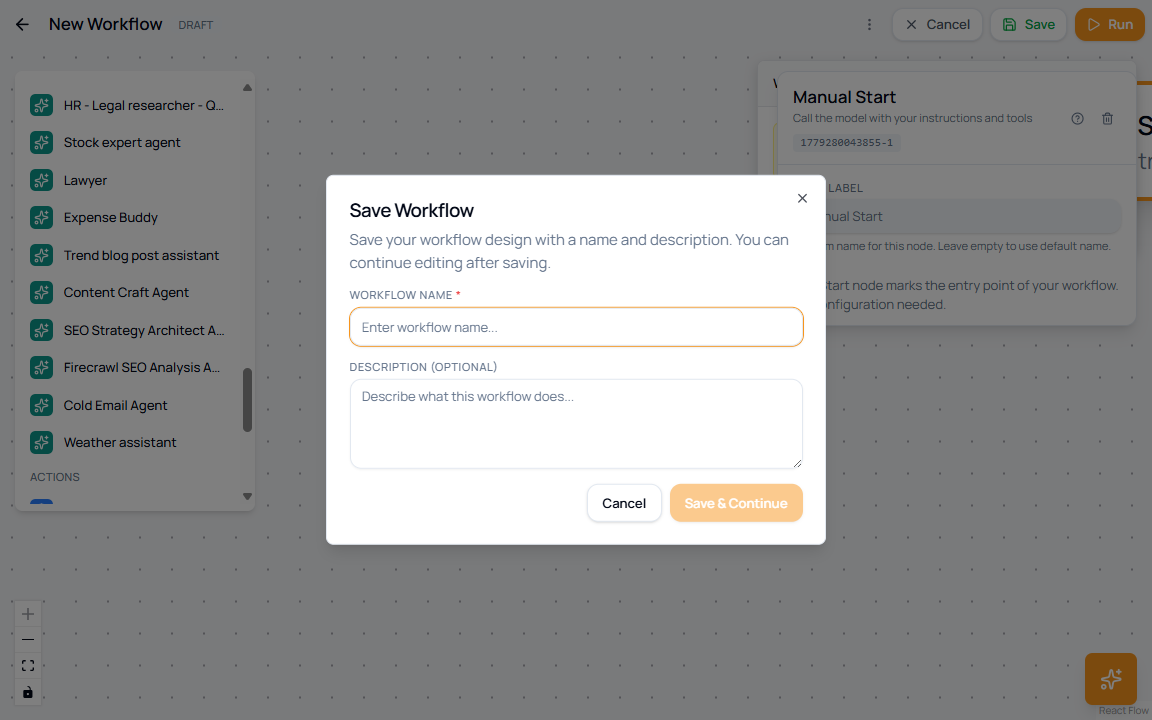
- Save the workflow with a name and optional description.
- Run the workflow after it has enough valid structure.
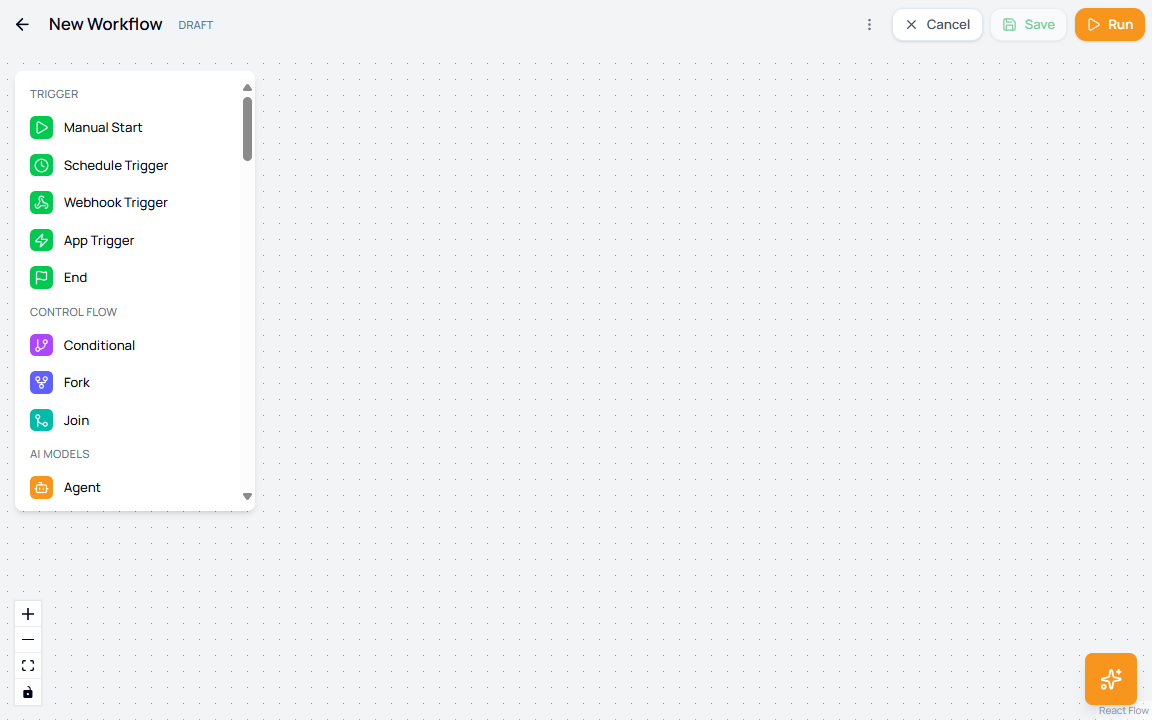
Builder areas
| Area | What it does |
|---|---|
| Top bar | Shows workflow title, status, back button, cancel, save, and run controls. |
| Node palette | Lists available nodes grouped by category. Drag a node from here to the canvas. |
| Canvas | The workspace where nodes are placed and connected. |
| Canvas controls | Zoom in, zoom out, fit view, and toggle interactivity. |
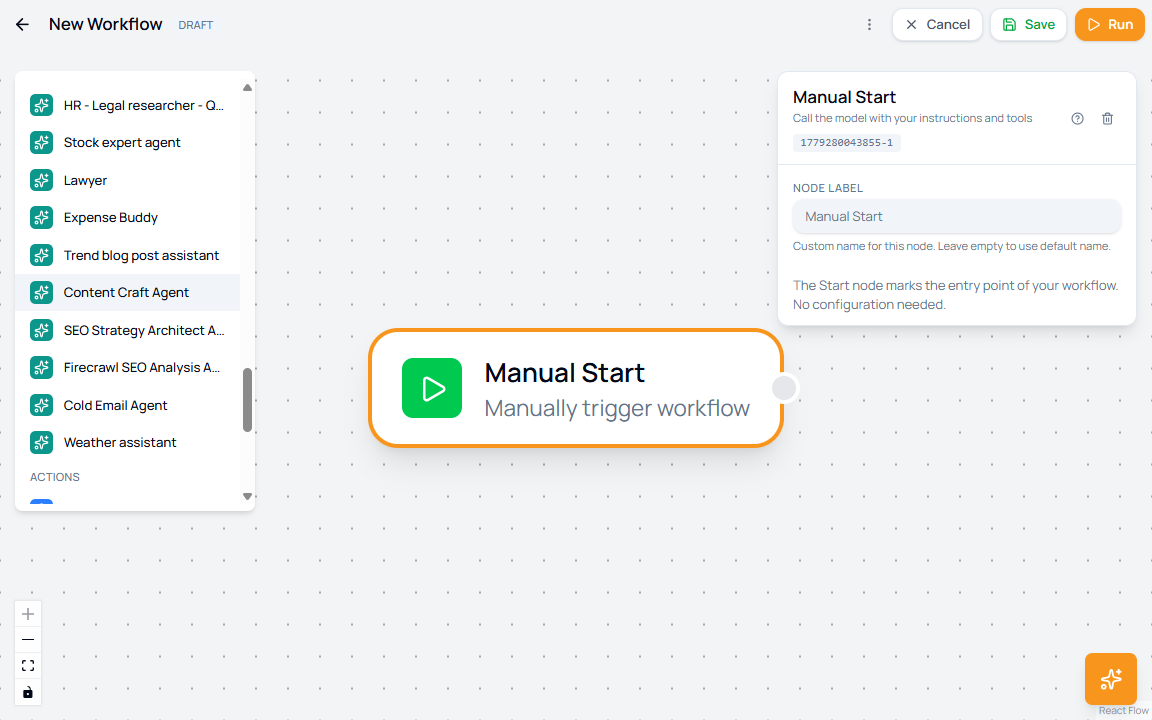
| Config panel | Opens after you select a node and shows editable node settings. |
| AI assistant | Opens from the bottom-right chat button and can propose changes from natural language. |
| Save dialog | Captures workflow name and optional description for a new workflow. |
Node palette categories
| Category | Nodes shown in the current builder |
|---|---|
| Trigger | Manual Start, Schedule Trigger, Webhook Trigger, App Trigger, End |
| Control Flow | Conditional, Fork, Join |
| AI Models | Agent, Image Generation, Embedding Model, Audio (TTS) |
| Published Agents | Published workspace agents that can be reused as workflow nodes |
| Actions | HTTP Request, Prompt, JavaScript, Python, Tool, App Action |
| Data Processing | Structured Output, Web Scrape, Retrieval |
How to add and configure a node
- Drag a node from the left palette onto the canvas.
- Click the node on the canvas.
- Edit the fields in the config panel.
- Connect the node to the rest of the workflow.
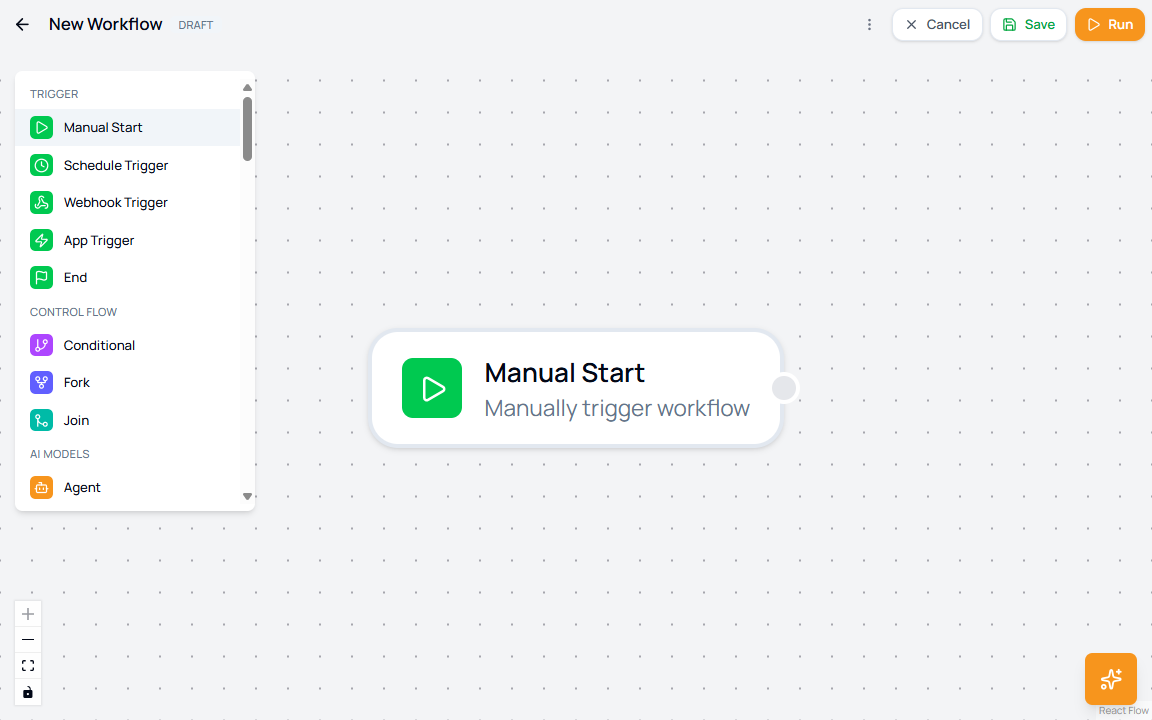
- Repeat until the workflow has a trigger, useful work nodes, and an end point.
Validation
The builder warns when a workflow is structurally incomplete. For example, a single Manual Start node shows a validation issue because the workflow does not have a defined end point.
| Validation area | What to check |
|---|---|
| Workflow Validation | Missing end points, incomplete wiring, or other issues that prevent a clean run. |
| Auto-fix Issues | Offers a shortcut when the builder can repair a detected issue. |
| Save state | New workflows need a name before they can be kept. |
How to save a new workflow
- Click Save in the top bar.
- Review any validation messages.
- Enter Workflow Name.
- Optionally add a description.
- Click Save & Continue.
| Field | Required | Accepted values | What it controls |
|---|---|---|---|
| Workflow Name | Yes | Plain text | Names the workflow in the Flows list and builder title. |
| Description | No | Plain text | Adds context for users scanning the Flows list. |
AI workflow assistant
- Click the chat button in the bottom-right corner.
- Describe the workflow change you want.
- Press Cmd/Ctrl + Enter or use the send button when enabled.
- Review the generated changes before saving.